openEuler中基于LAMP部署WordPress
本文环境基于华为云 的弹性云服务器 ECS:
- CPU架构:选择鲲鹏通用计算增强型
- 操作系统选择 openEuler 20.03 64bit with ARM
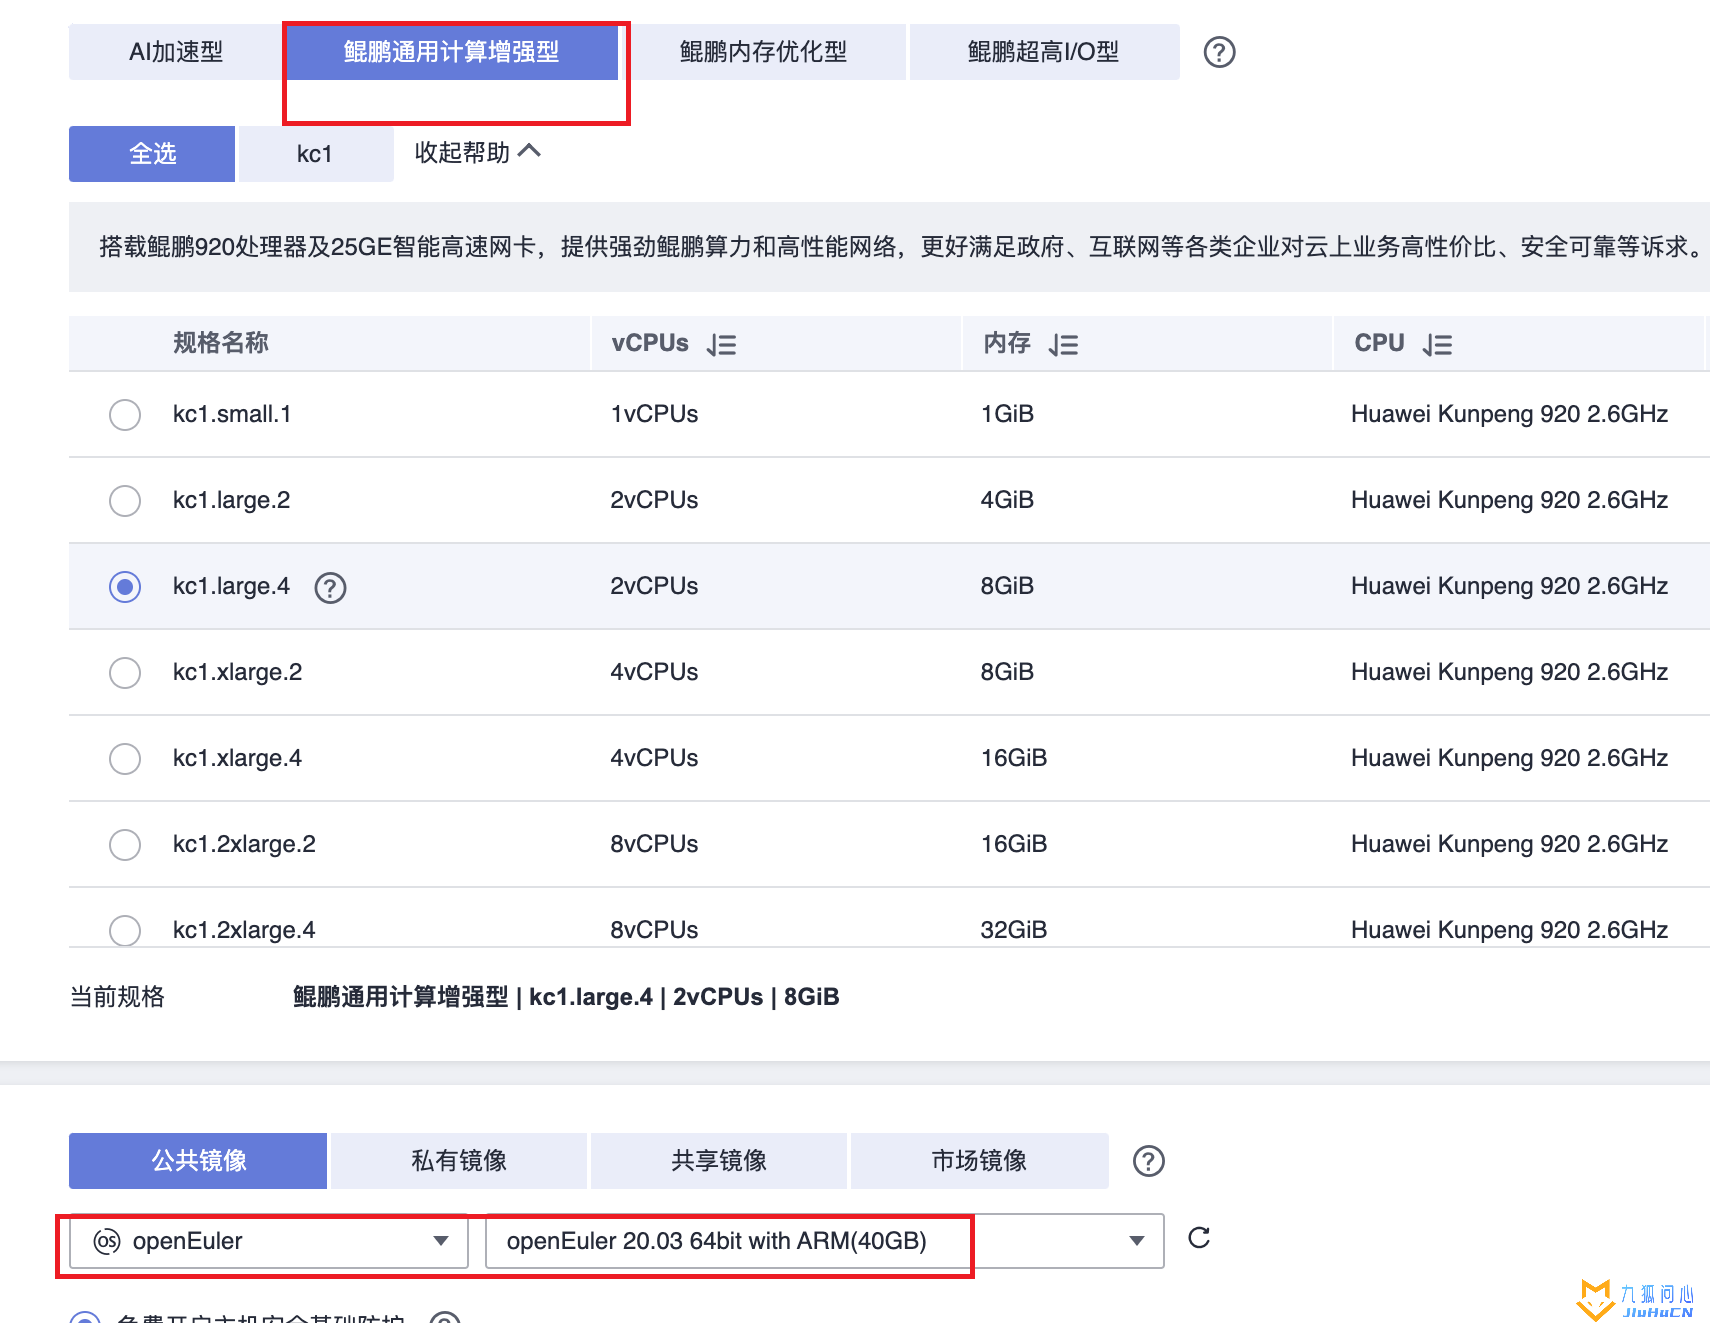
弹性云服务器 ECS远程访问推荐使用Moba Xterm.
LAMP是指一组通常一起使用来运行动态网站或者服务器的自由软件名称首字母缩写:
- Linux,操作系统,openEuler就是一种Linux发行版
- Apache,Web服务器
- MariaDB或MySQL,数据库管理系统(或者数据库服务器)
- PHP、Perl或Python,Web后端语言,我们选用的是PHP
配置openEuler
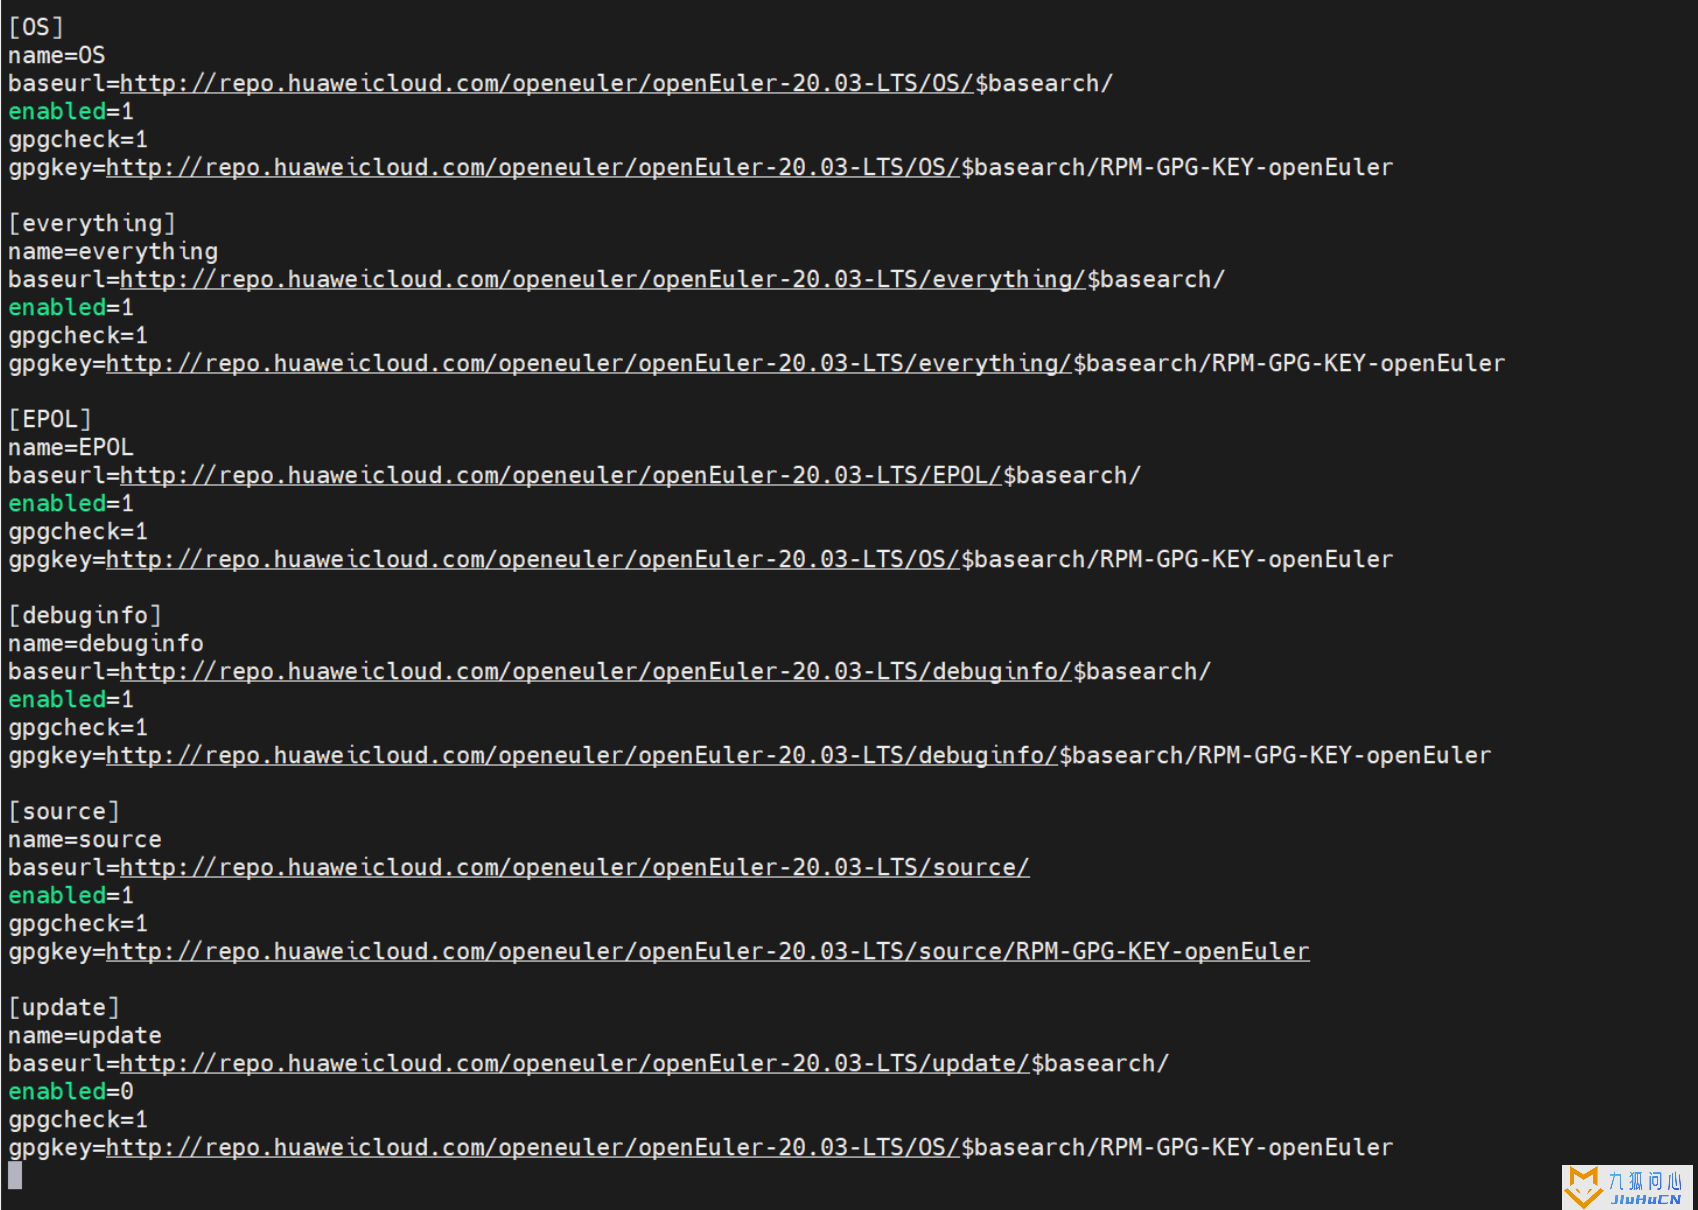
在华为云openEuler 安装后,没有配置yum源,我们通过重新配置。
cd /etc/yum.repos.d


vi openEuler_x86_64.repo
增加下面内容:
[OS]
name=OS
baseurl=http://repo.openeuler.org/openEuler-20.03-LTS/OS/$basearch/
enabled=1
gpgcheck=1
gpgkey=http://repo.openeuler.org/openEuler-20.03-LTS/OS/$basearch/RPM-GPG-KEY-openEuler

[everything]
name=everything
baseurl=http://repo.openeuler.org/openEuler-20.03-LTS/everything/$basearch/
enabled=1
gpgcheck=1
gpgkey=http://repo.openeuler.org/openEuler-20.03-LTS/everything/$basearch/RPM-GPG-KEY-openEuler

[EPOL]
name=EPOL
baseurl=http://repo.openeuler.org/openEuler-20.03-LTS/EPOL/$basearch/
enabled=1
gpgcheck=1
gpgkey=http://repo.openeuler.org/openEuler-20.03-LTS/OS/$basearch/RPM-GPG-KEY-openEuler

[debuginfo]
name=debuginfo
baseurl=http://repo.openeuler.org/openEuler-20.03-LTS/debuginfo/$basearch/
enabled=1
gpgcheck=1
gpgkey=http://repo.openeuler.org/openEuler-20.03-LTS/debuginfo/$basearch/RPM-GPG-KEY-openEuler

[source]
name=source
baseurl=http://repo.openeuler.org/openEuler-20.03-LTS/source/
enabled=1
gpgcheck=1
gpgkey=http://repo.openeuler.org/openEuler-20.03-LTS/source/RPM-GPG-KEY-openEuler

[update]
name=update
baseurl=http://repo.openeuler.org/openEuler-20.03-LTS/update/$basearch/
enabled=0
gpgcheck=1
gpgkey=http://repo.openeuler.org/openEuler-20.03-LTS/OS/$basearch/RPM-GPG-KEY-openEuler
安装LAMP
在shell中 通过下面命令安装Apache:
yum install -y httpd

通过下面命令开启Apache服务:
systemctl start httpd.service

我们做完实验,要养成及时关闭服务器的习惯,否则代金券就很快花完了,通过下面命令,设置Apache开机自启动:
systemctl enable httpd.service

系统默认启动防火墙,会导致我们无法访问网站,通过下面命令关闭防火墙:
systemctl stop firewalld

通过下面命令禁止防火墙自启动:
systemctl disable firewalld

MariaDB Server 是最流行的开源关系型数据库之一。它由 MySQL 的原始开发者制作,并保证保持开源。它是大多数云产品的一部分,也是大多数 Linux 发行版的默认配置。MariaDB 被设计为 MySQL 的直接替代产品,具有更多功能,新的存储引擎,更少的错误和更好的性能。
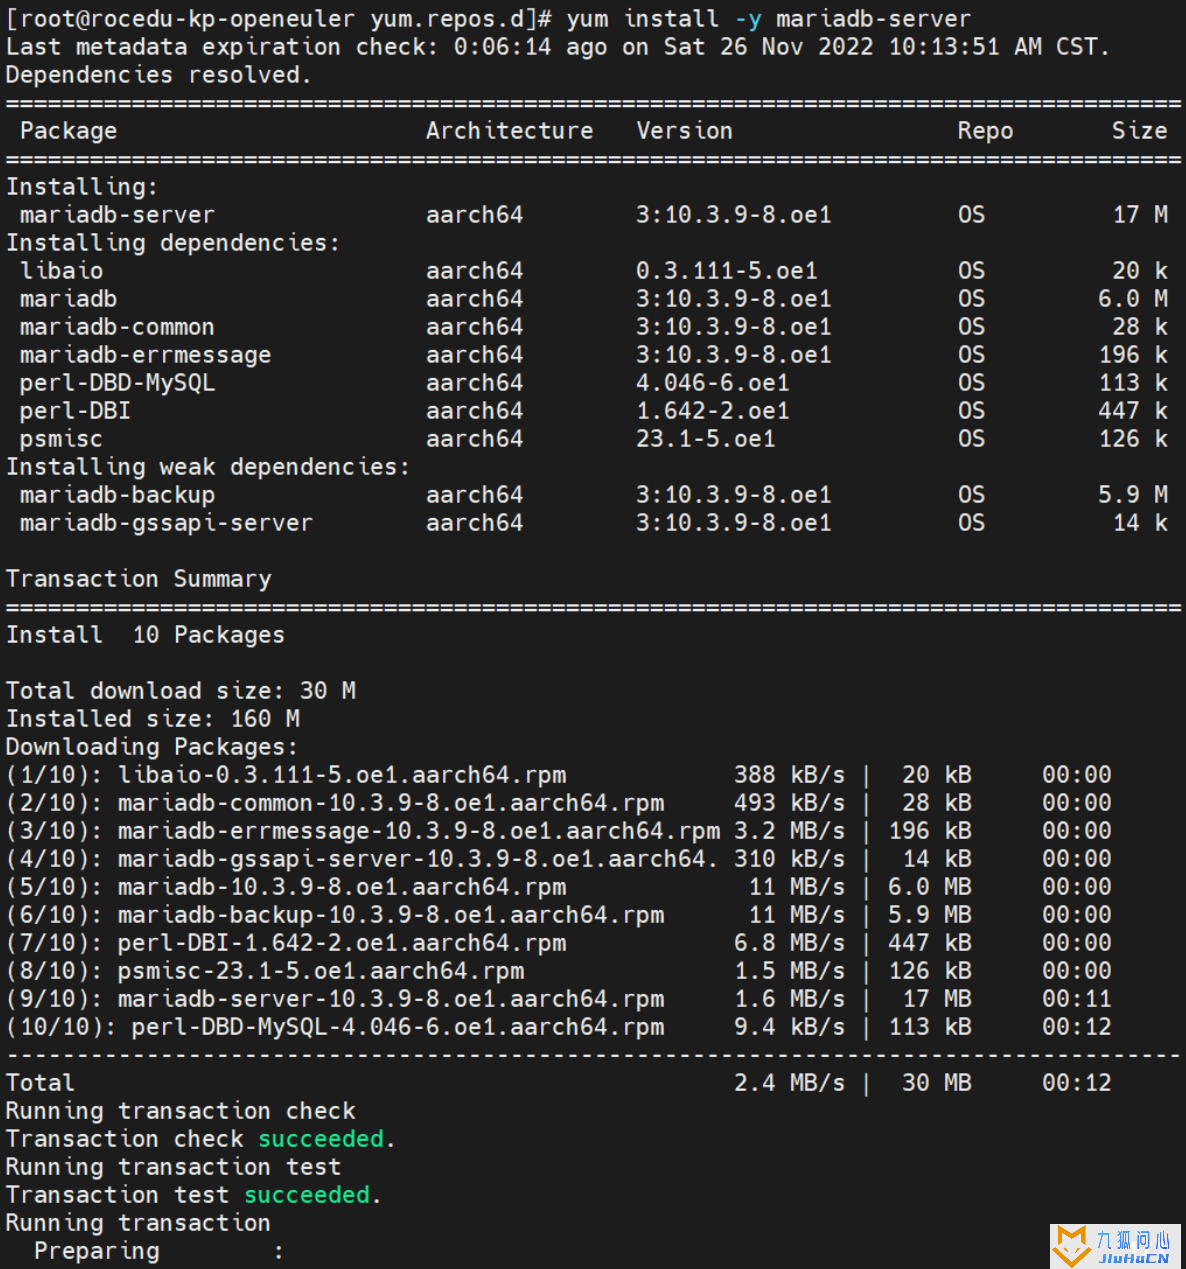
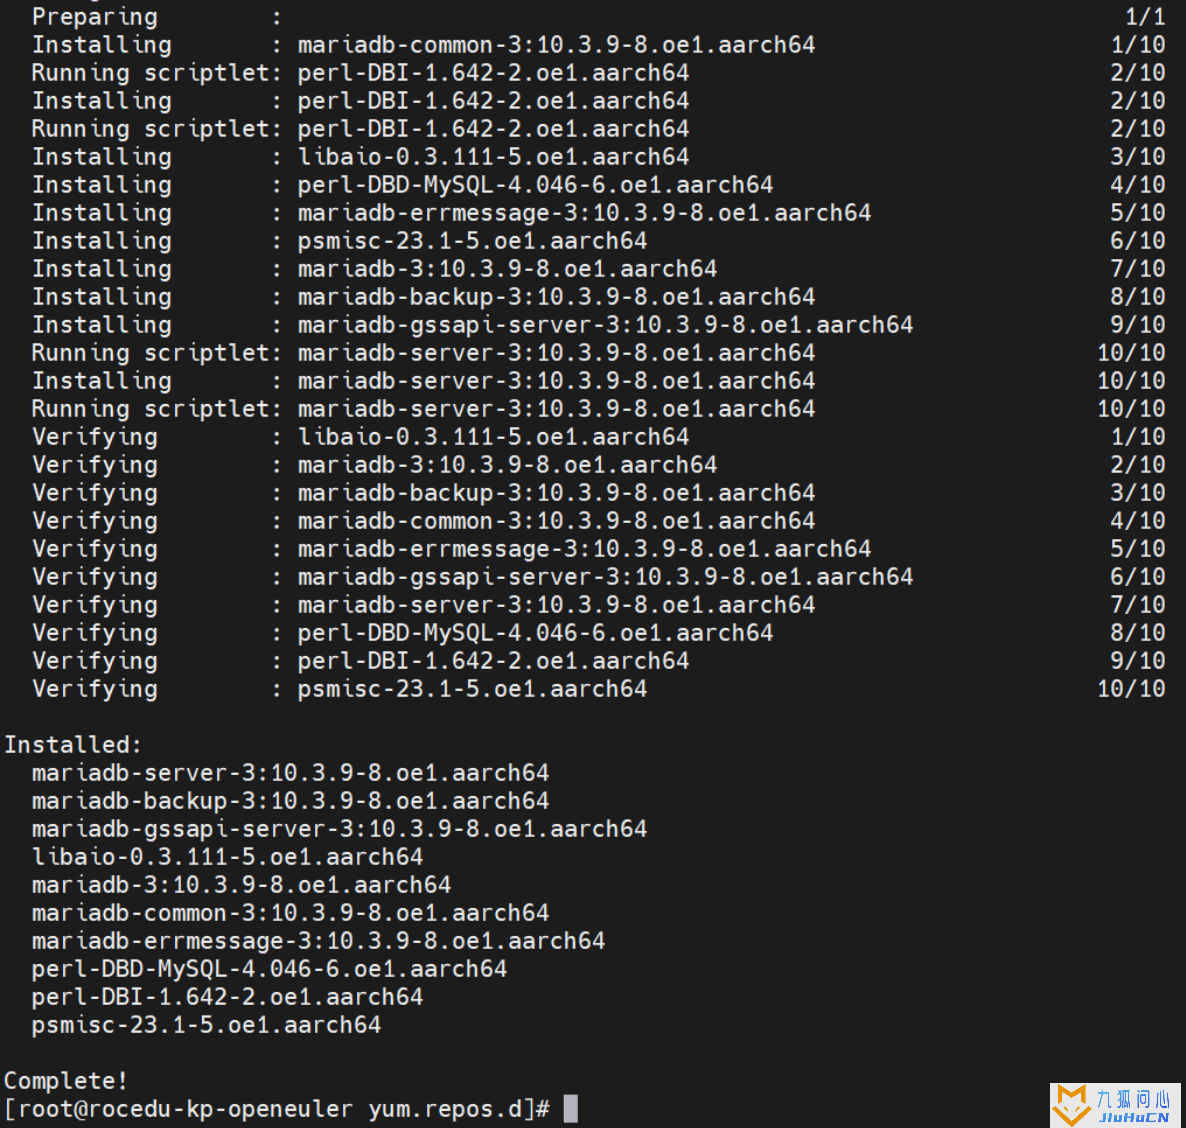
通过下面命令安装mariadb:
yum install -y mariadb-server
通过下面命令开启mariadb服务:
systemctl start mariadb

通过下面命令设置mariadb开机自启动:
systemctl enable mariadb

通过下面命令给mariadb数据库的root账户设置密码123456:
mysqladmin -uroot password '123456'

可以通过下面命令修改密码,一般不用操作
mysql -uroot -p
mysql> ALTER USER 'root'@'localhost' IDENTIFIED WITH mysql_native_password BY '新密码';  (注:新密码替换成自己的密码)
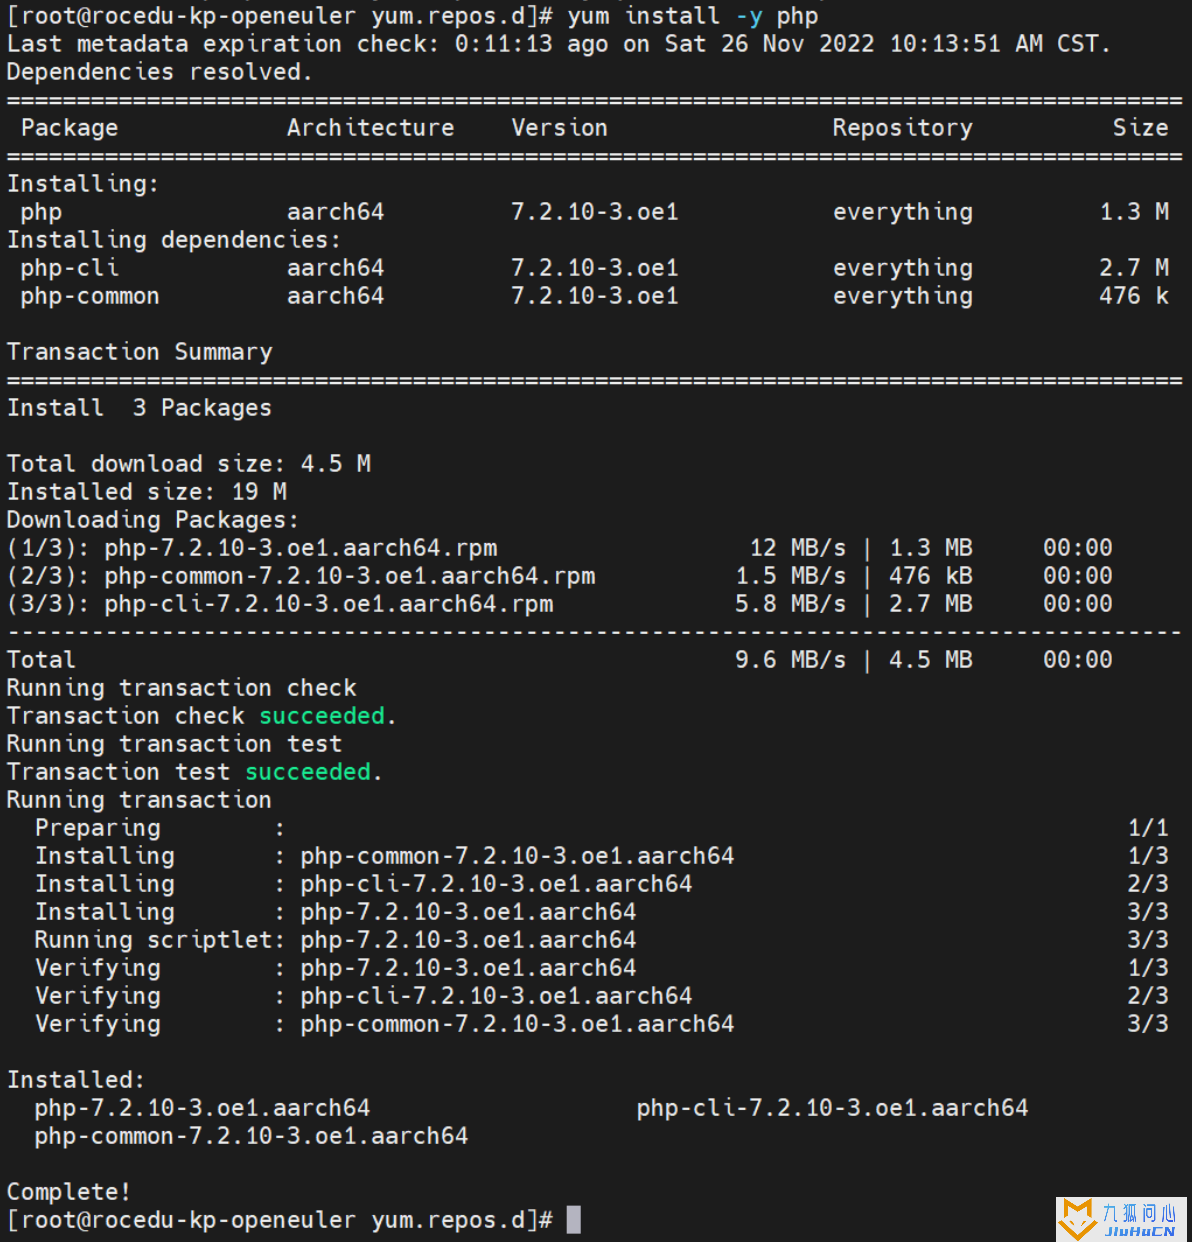
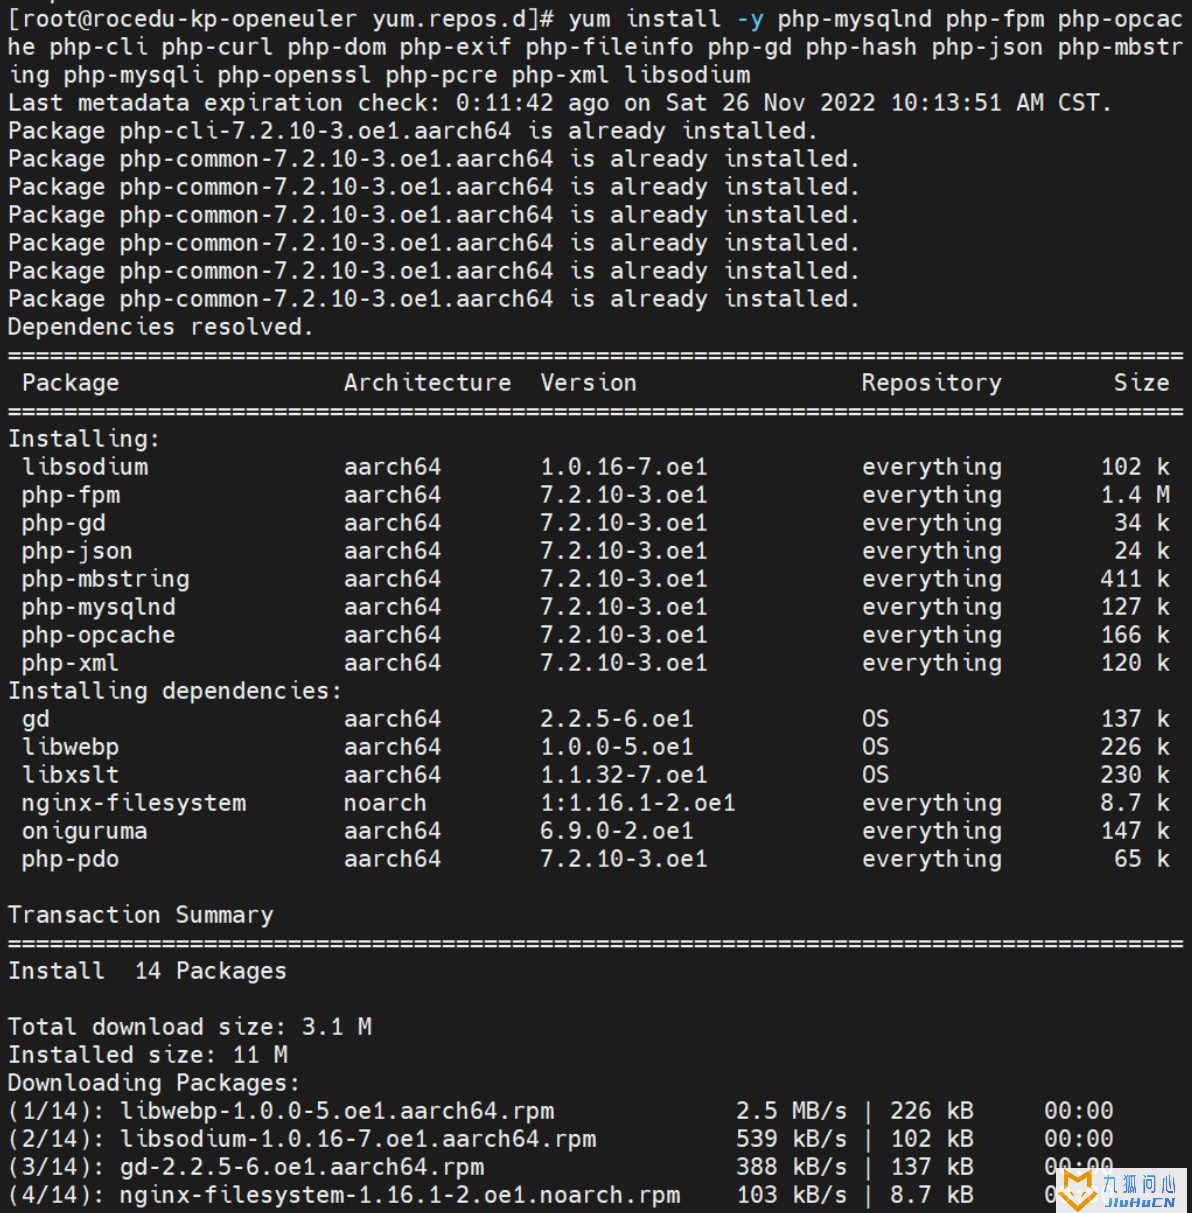
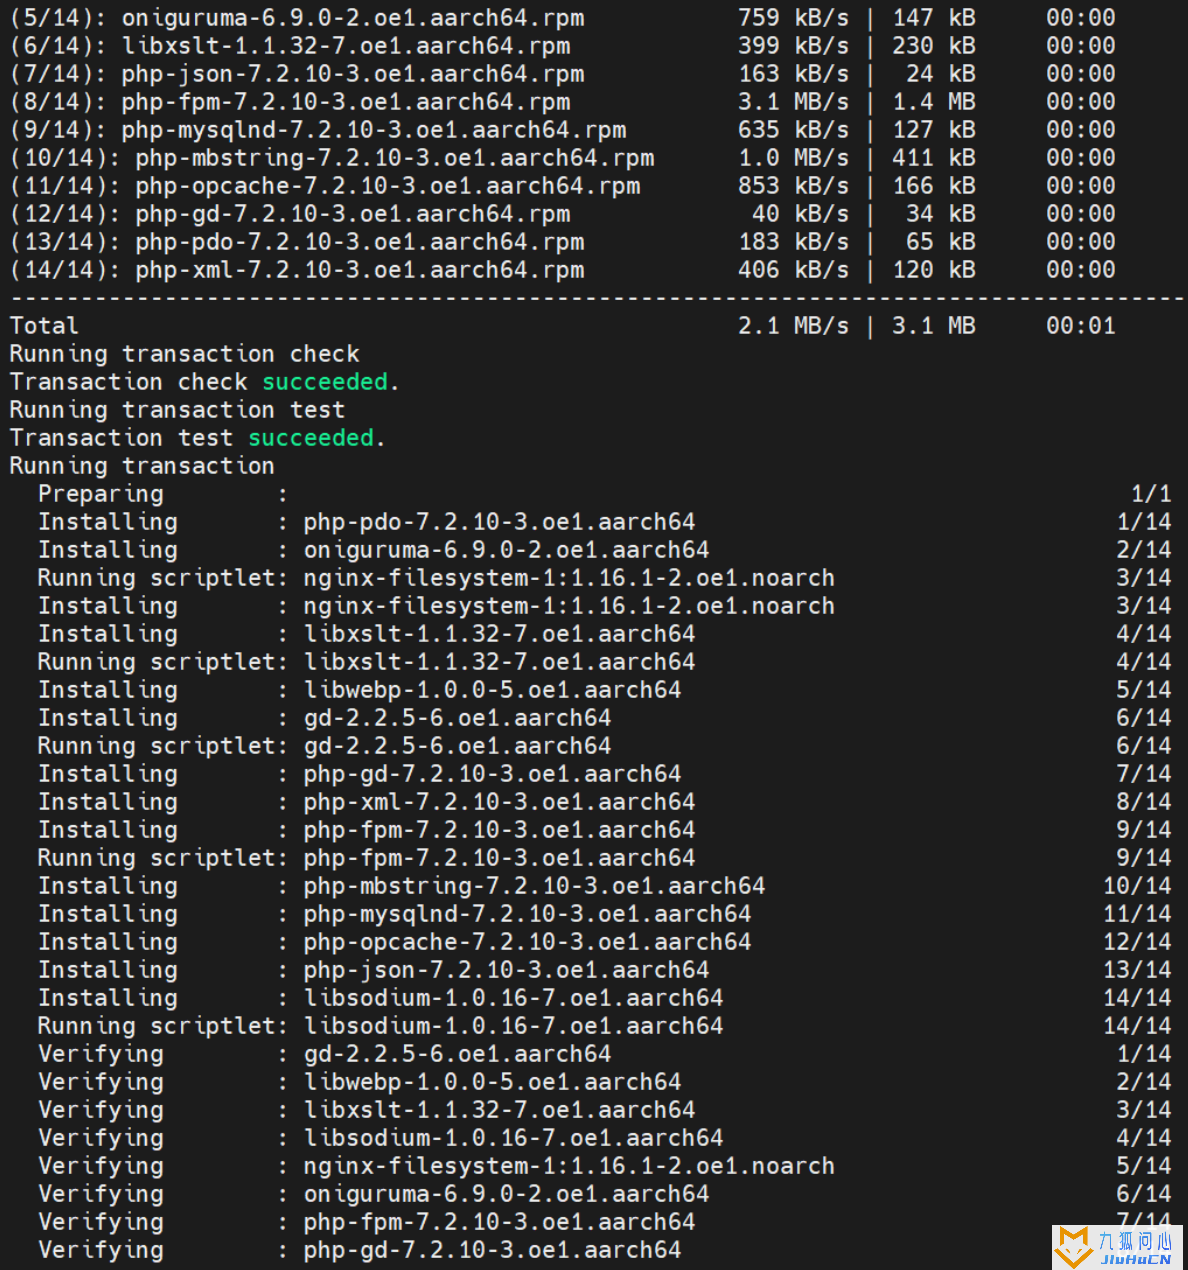
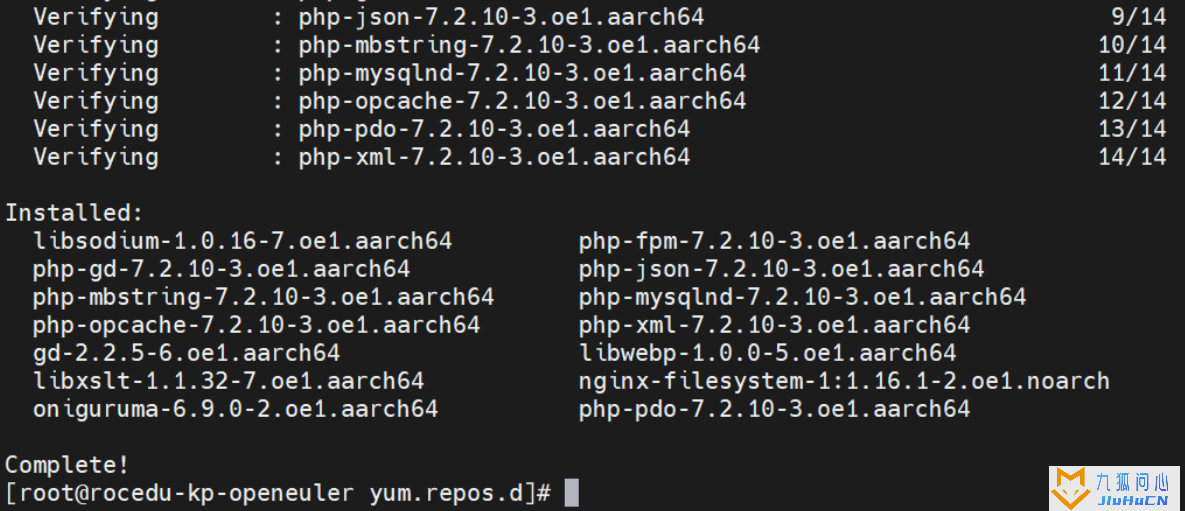
通过下面命令安装PHP和PHP模块:
yum install -y php
yum install -y php-mysqlnd php-fpm php-opcache php-cli php-curl php-dom php-exif php-fileinfo php-gd php-hash php-json php-mbstring php-mysqli php-openssl php-pcre php-xml libsodium
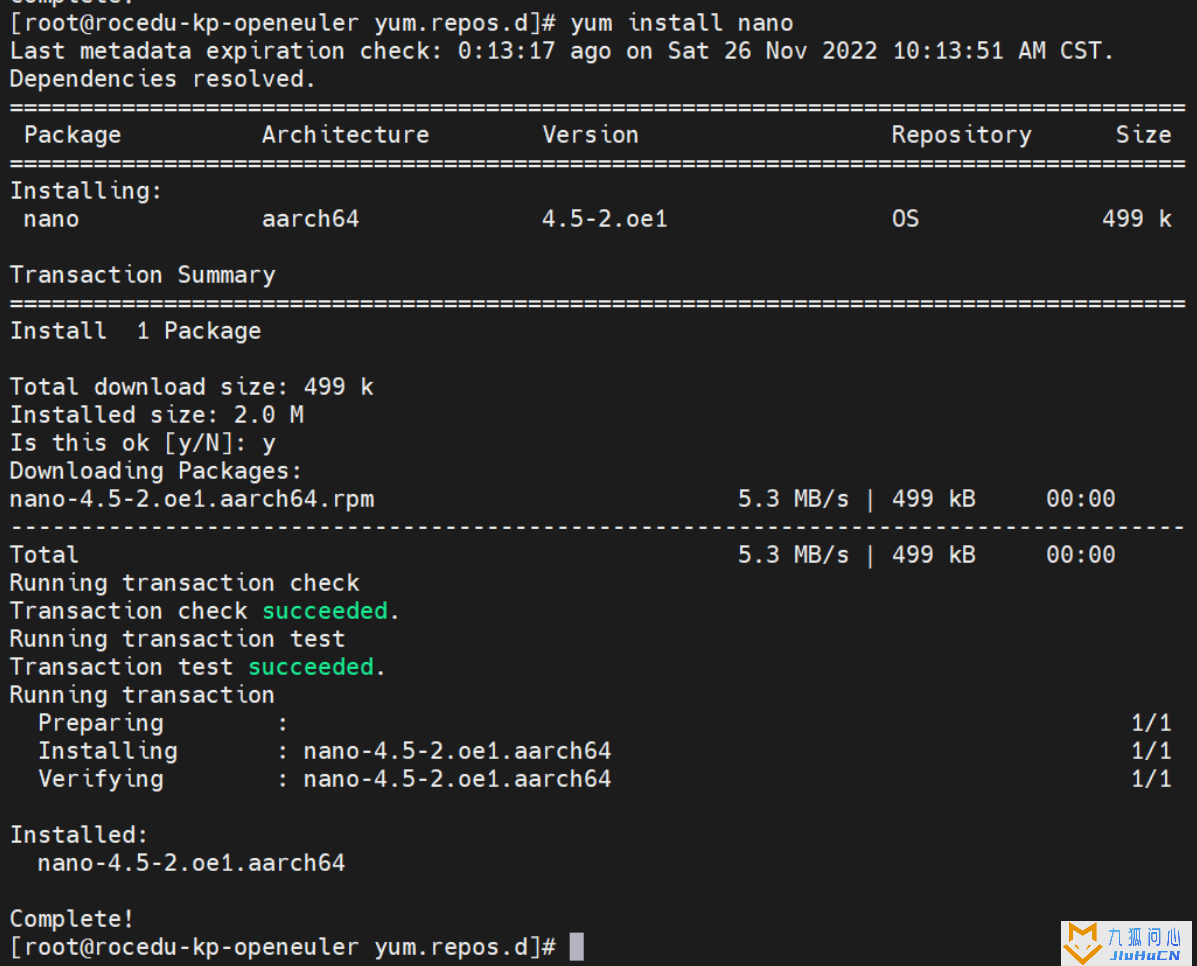
通过下面命令安装交互更加良好的nano 文本编辑器:
yum install nano
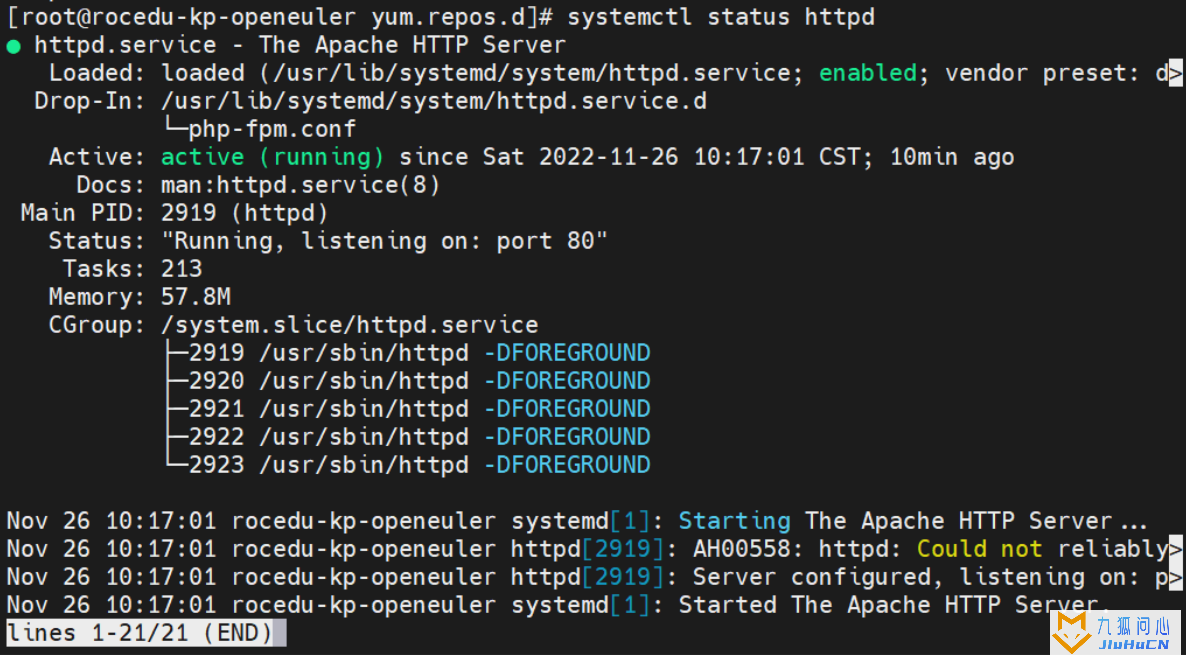
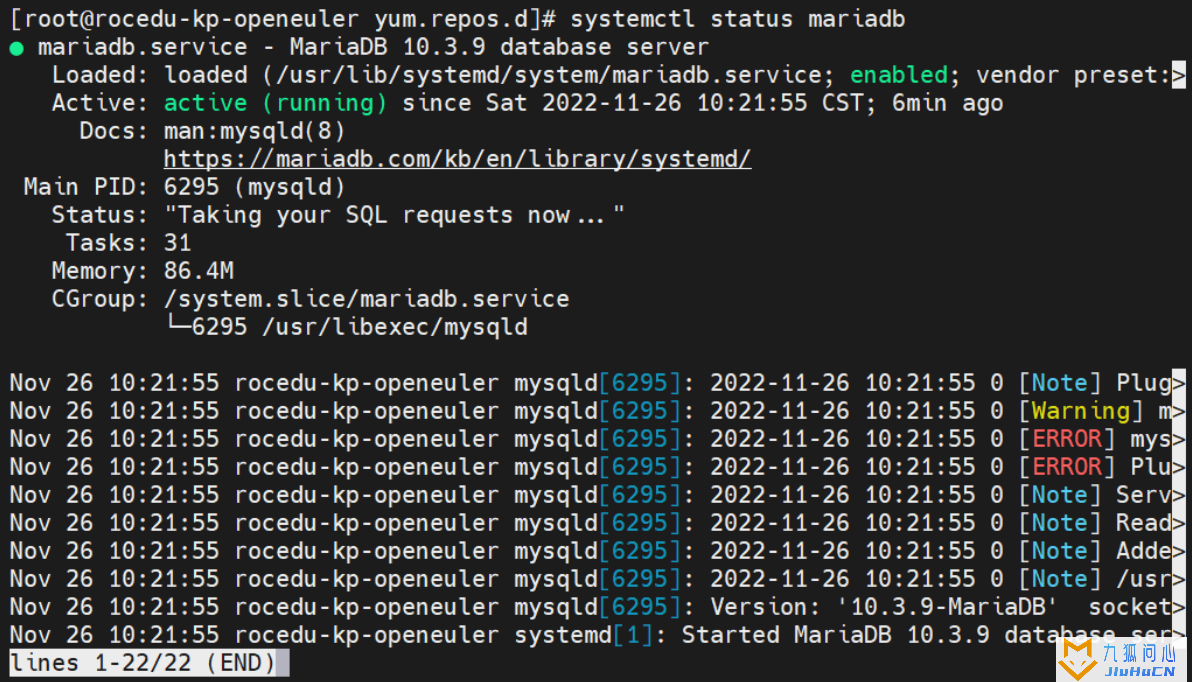
通过下面命令查看Apache和mariadb的运行状态:
systemctl status httpd
systemctl status mariadb
通过下面命令查看Apache和mariadb是否已经开启了开机自启动:
systemctl list-unit-files | grep httpd.service

systemctl list-unit-files | grep mariadb.service

通过下面命令查看PHP的版本信息:
php -v

通过下面命令创建一个PHP测试文件测试PHP是否正常,输出重定向到test.php文件:
echo "<?php phpinfo(); ?>" > /var/www/html/test.php

通过下面命令给这个文件赋权限:
chmod 755 /var/www/html/test.php

通过下面命令重启Apache服务:
systemctl restart httpd

安装部署wordpress
通过下面命令安装wget:
yum install -y wget

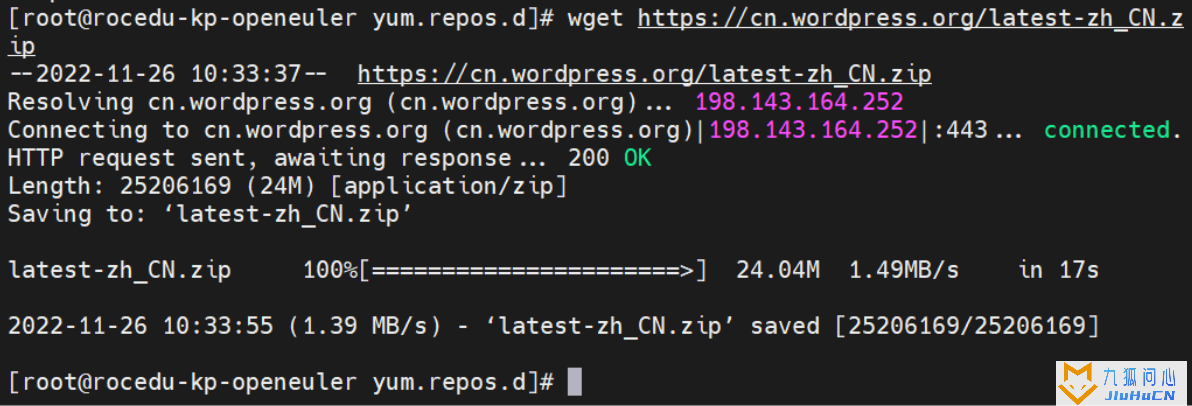
通过下面命令请求wordpress安装包(.ZIP):
wget https://cn.wordpress.org/latest-zh_CN.zip
通过下面命令查看mariadb的版本号:
rpm -qa | grep mariadb

通过下面命令登录到mariadb:
mysql -uroot -p

通过下面命令创建WordPress数据库:
create database wordpressdb;


通过下面命令安装unzip解压工具:
yum install -y unzip

解压latest-zh_CN.zip到/var/www目录下
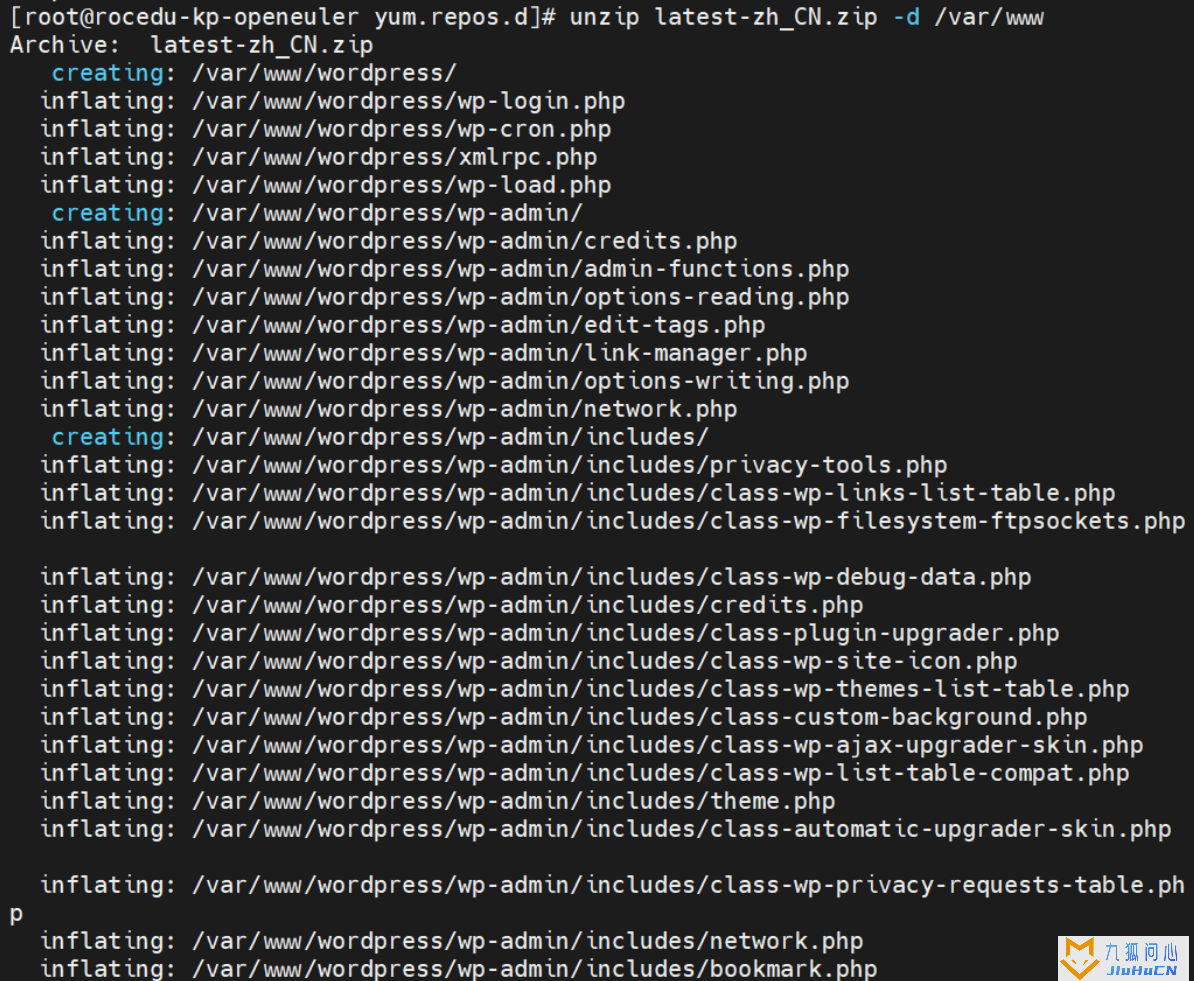
unzip latest-zh_CN.zip -d /var/www
通过下面命令创建用户给Apache权限:
chown -R apache:apache /var/www/wordpress
chmod -R 755 /var/www/wordpress/


编辑Apache的配置文件:
nano /etc/httpd/conf/httpd.conf

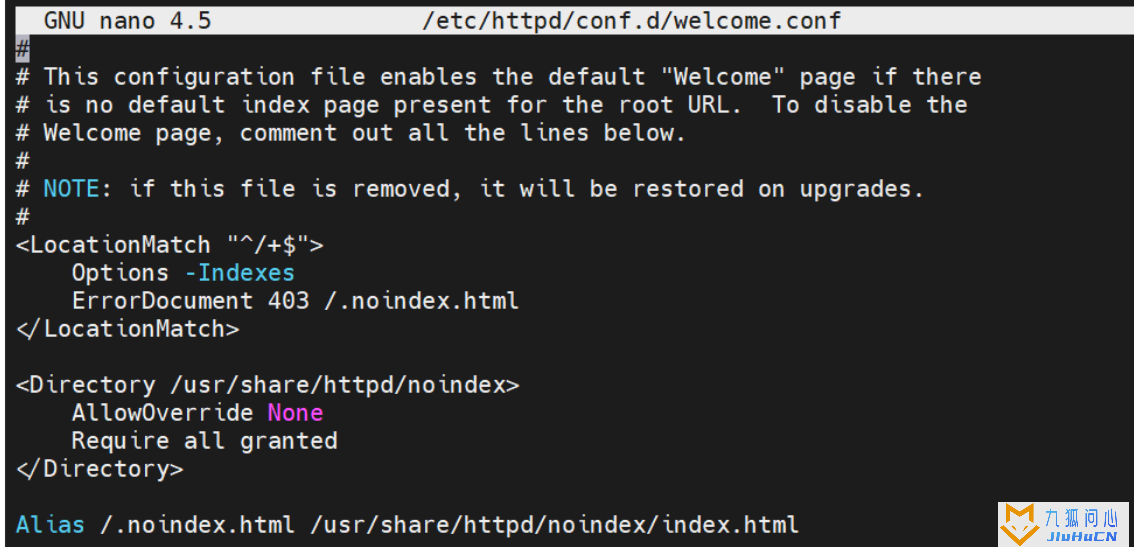
编辑Apache的欢迎页面,将其内容都注释掉:
nano /etc/httpd/conf.d/welcome.conf

重启Apache服务:
systemctl restart httpd
转到下面这个文件夹:
cd /var/www/wordpress

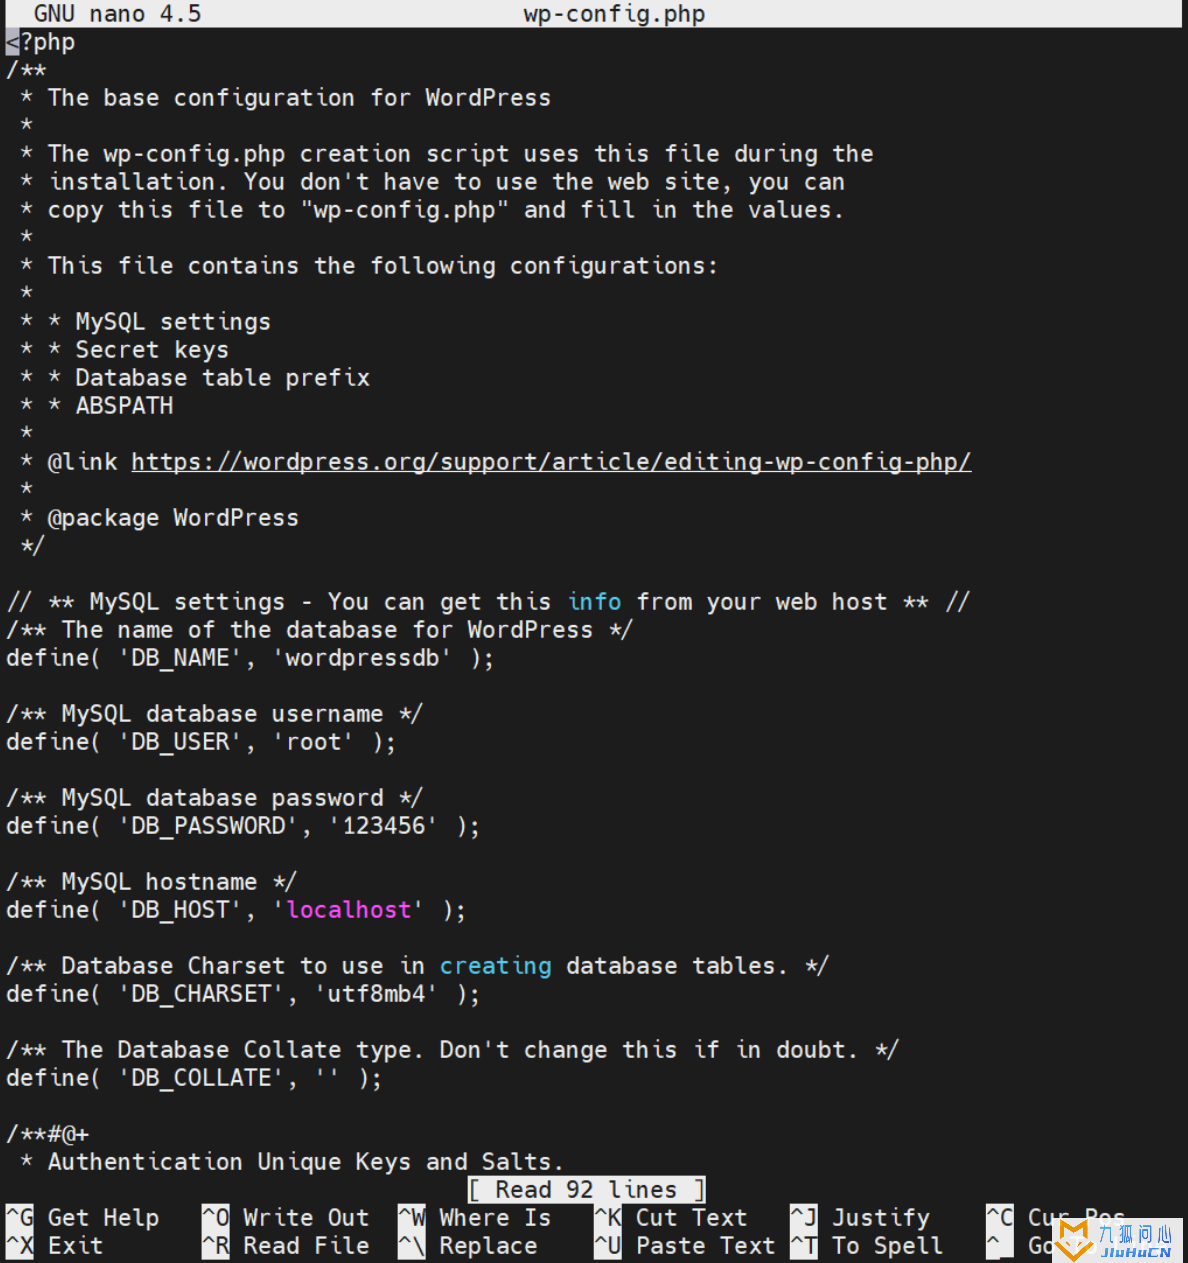
创建 wp-config.php 文件:
nano wp-config.php
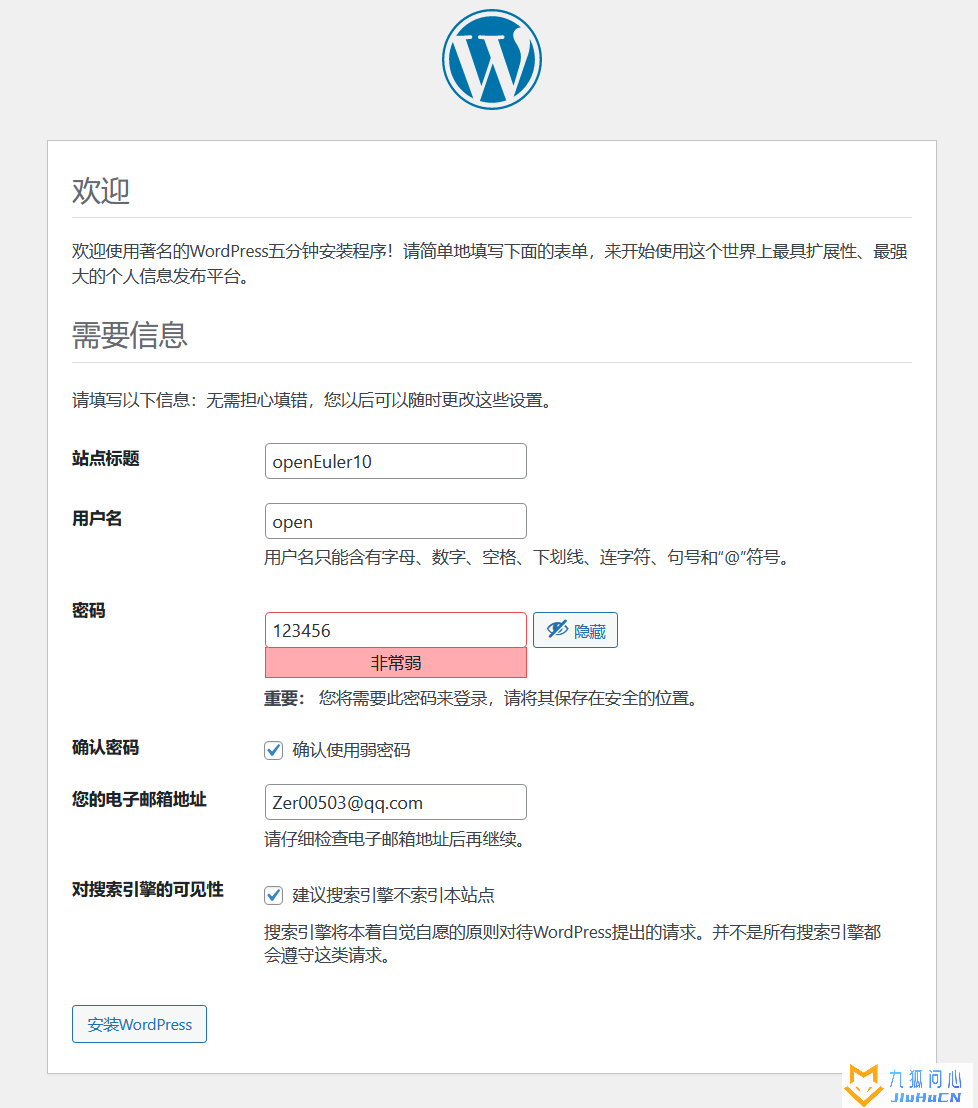
:访问ip/wp-config.php
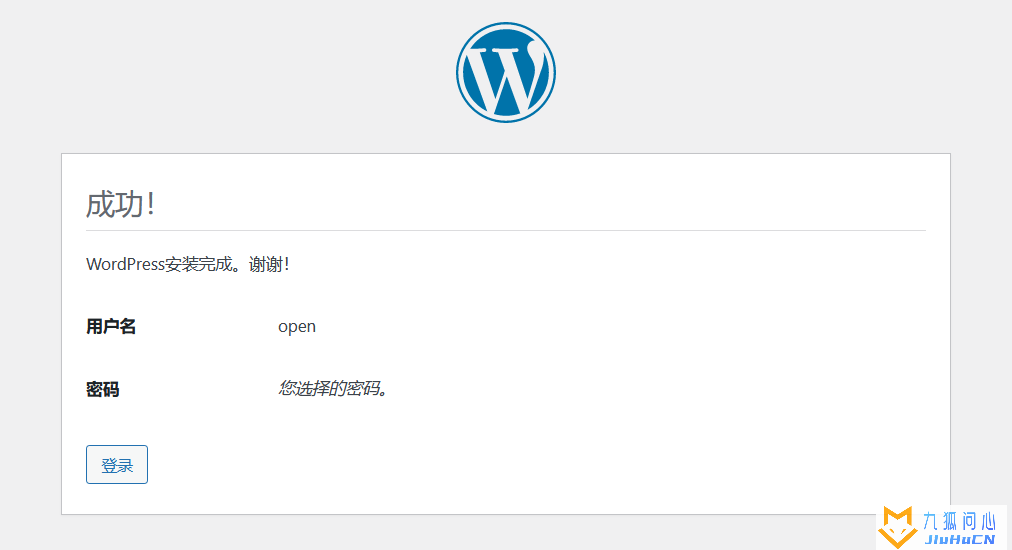
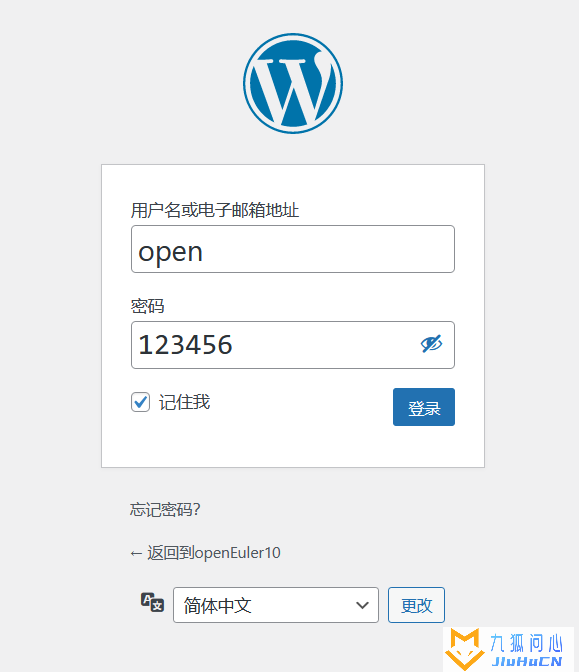
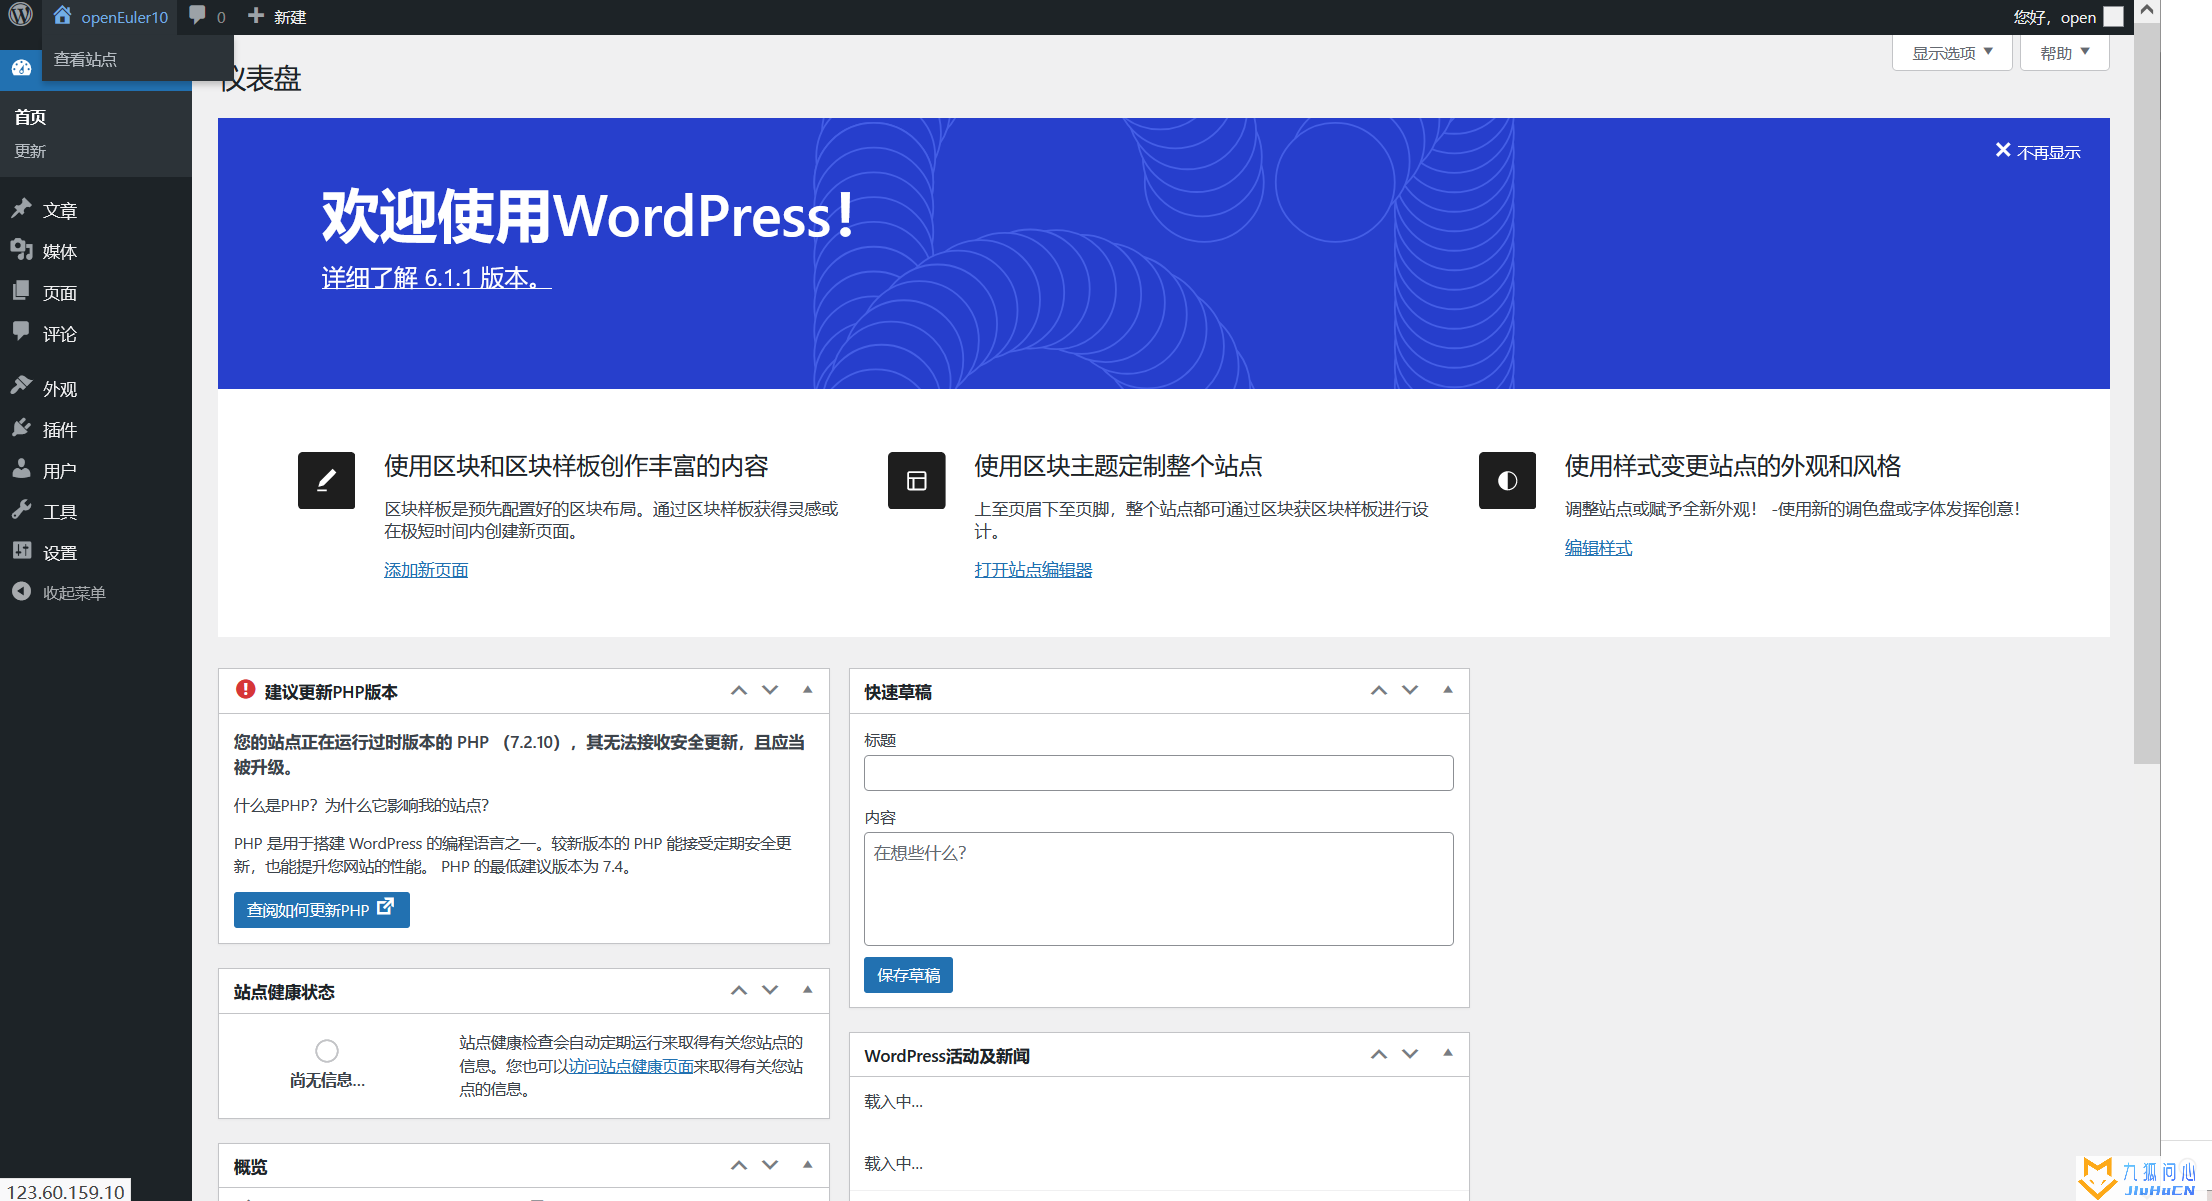
遇到的问题与解决方案
- 因为是使用的ssh session连接的华为云服务器,多个ip地址容易混淆,导致最后访问wordpress访问出错。
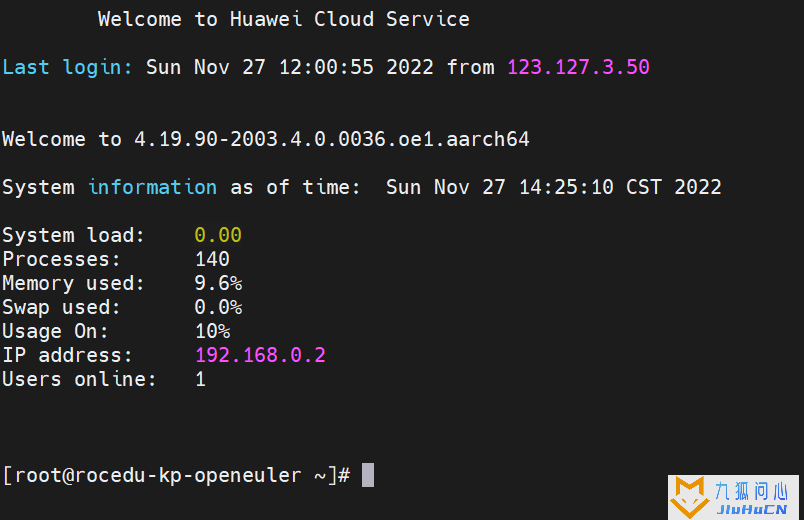
应该访问的是华为云的弹性公网ip,上述图片中的两个均不是可访问的地址,在访问前可以先
- 对目标ip进行ping测试,是否可以ping通,进行数据交互。
- 对目标ip的端口进行测试,本实践用的是80端口,所以我们可以用tcping进行80端口测试,防止是因为云服务器安全组未开放80端口,导致接入失败
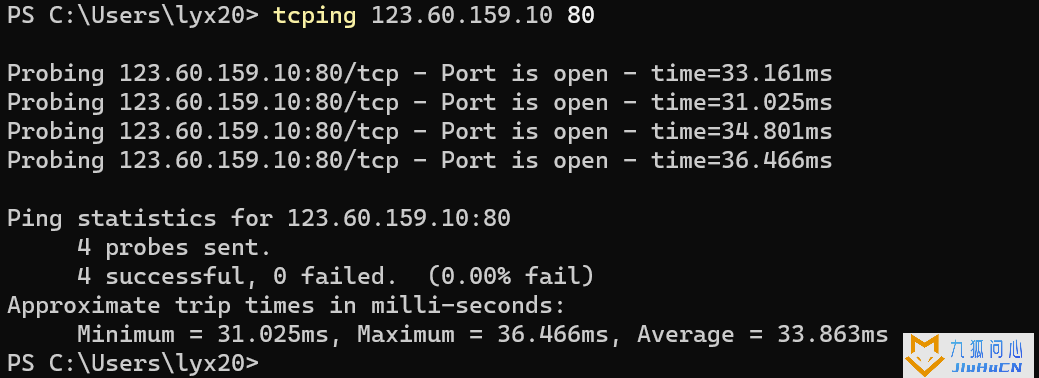
tcping
tcping命令使用传输层协议,可以检测IP端口状态和查看ping 值,即使源地址禁 ping 也可以通过 tcping 来监控服务器网络状态。
- Apache访问路径问题
在实验的过程中,我们编辑修改了Apache的配置文件,这一步的作用就是修改了ip地址默认访问的路径,详细如图:
nano /etc/httpd/conf/httpd.conf

如图,<Directory "/var/www**/wordpress**"即为默认的访问路径,如果我们直接访问url:ip,访问的就是wordpress文件夹,在安装配置wordpress时,我们直接访问ip/wp-config.php即可。
如果访问失败,我们可以先用test.php试验是否可以正常运行php文件,如果php环境没问题,就可能是权限的问题,用chmod 755修改wp-config.php权限,即可成功访问。
版权声明:本文采用知识共享 署名4.0国际许可协议BY-NC-SA 进行授权
文章作者:jiuhucn
文章链接:https://www.jiuhucn.com/2023/02/22/3154.html
免责声明:本站为资源分享站,所有资源信息均来自网络,您必须在下载后的24个小时之内从您的电脑中彻底删除上述内容;版权争议与本站无关,所有资源仅供学习参考研究目的,如果您访问和下载此文件,表示您同意只将此文件用于参考、学习而非其他用途,否则一切后果请您自行承担,如果您喜欢该程序,请支持正版软件,购买注册,得到更好的正版服务。
本站为非盈利性站点,并不贩卖软件,不存在任何商业目的及用途,网站会员捐赠是您喜欢本站而产生的赞助支持行为,仅为维持服务器的开支与维护,全凭自愿无任何强求。


共有 0 条评论